Easy DIY Cloud Stencil Tutorial | I have been asked several times where I get the “Cloud Stencil” I use on many of my cards. I always make my own cloud stencil and it is made with simple items in any craft room. I once cut a stencil with my Cameo and I kept loosing it so I decided to figure out something easy and that I would not have to worry if I lose it.
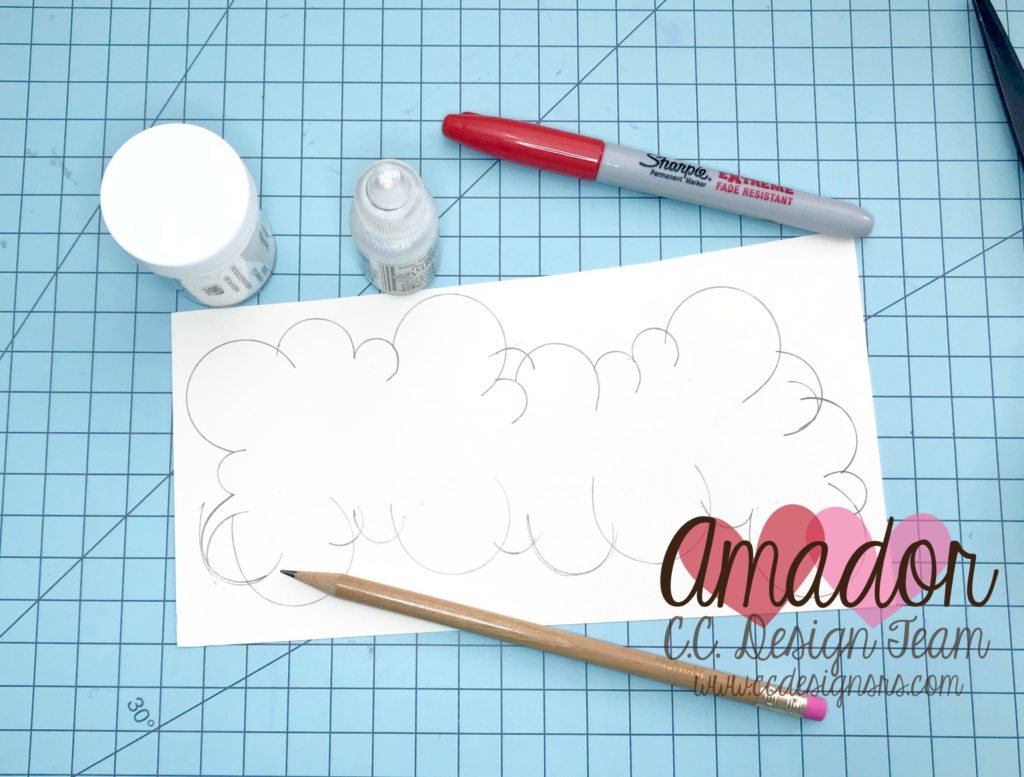
I start with a plain cardstock paper scrap. It does not have to by any special kind especially if it gets a little messy. I typically have some scrap in my scrap box and the color does not matter.
I simply choose several items from my craft room with a rounded base to create the cloud curves. For this stencil I chose a embossing powder jar, tickles jar and a marker cap.
Make sure to use at least three items of different sizes. You can trace full circles if you like to make it easier close to the edge of the cardstock. I have made several of these and just make half circles. It is important for the circles or half circles to overlap so you can create a full stencil.You can also use the C.C. Designs circle dies by choosing the smallest ones and tracing the inside and outside of them for different circle sizes.
The circles do not have to be in any particular order and you can repeat them as you choose. I tend to not follow exactly the shape of the cardstock. This gives the clouds a more natural look.
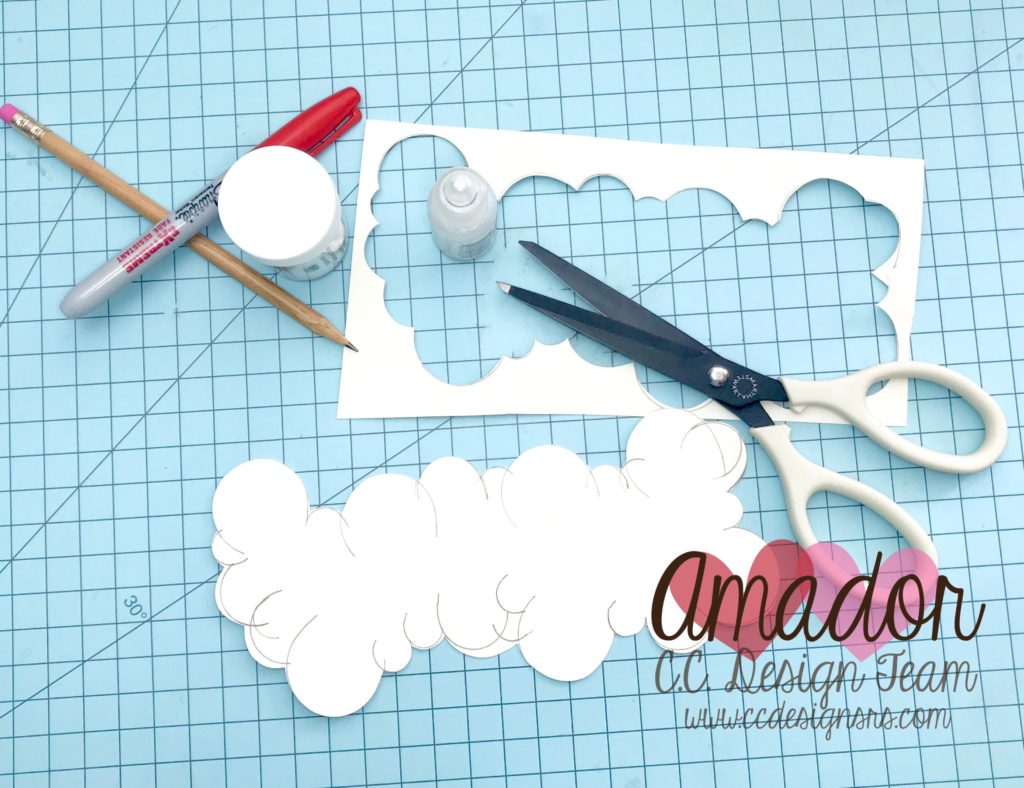
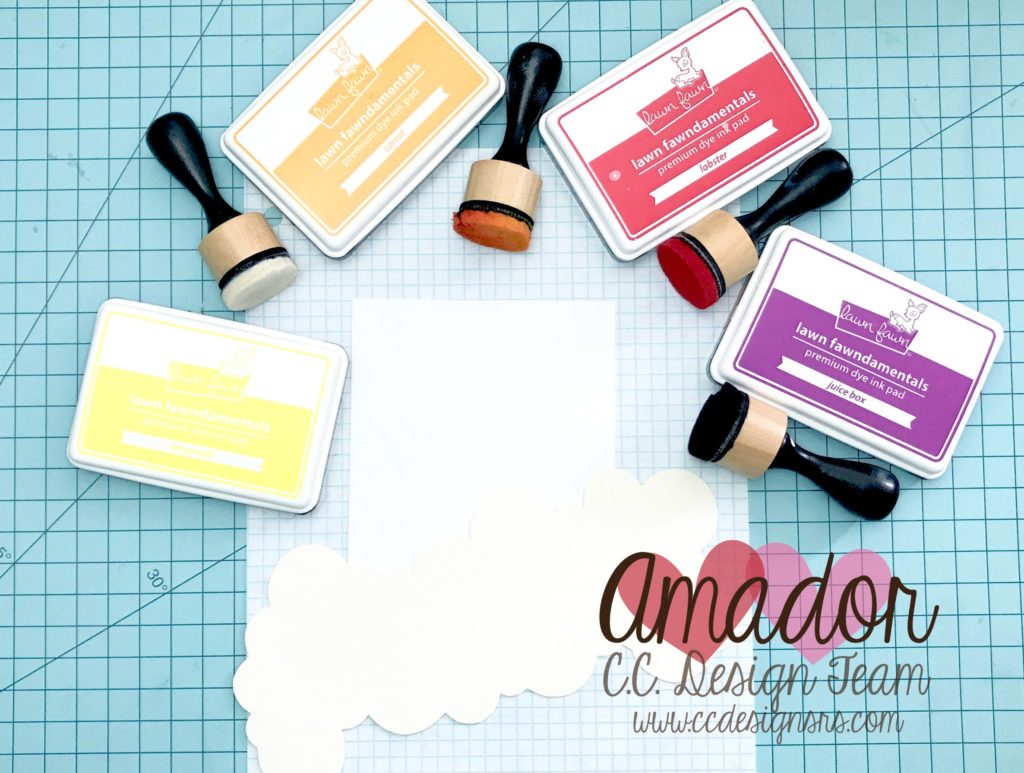
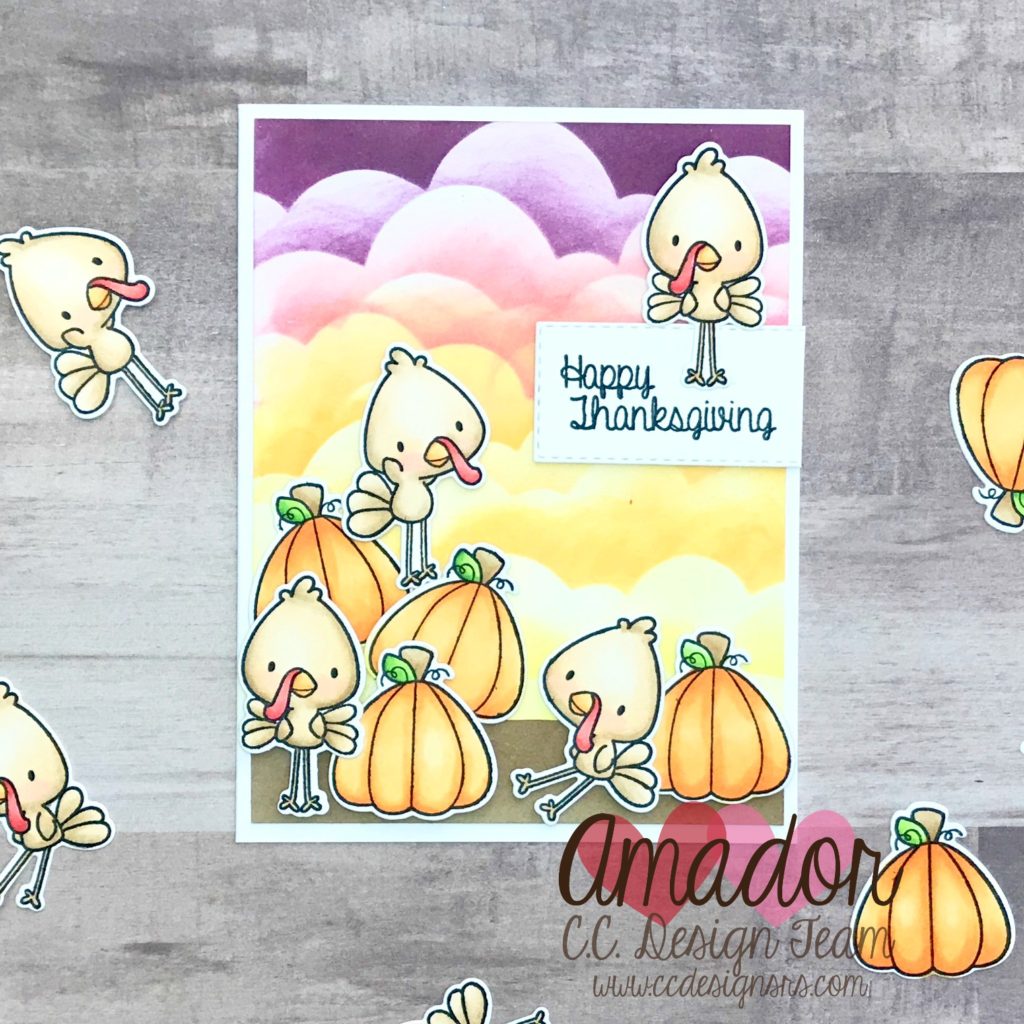
Once your online is done you just cut it out with any scissors and it is ready to use. When using the stencil I tend to start from the top and end at the bottom. This will keep you from smudgiung the ink. For this card I wanted the background to be a nice autumn sunset sky. I used Lawn Fawn inks and started with the darkest at the top. This sunset went from Lawn Fawn’s Juice Box, Lobster, Carrot and Lemonade.
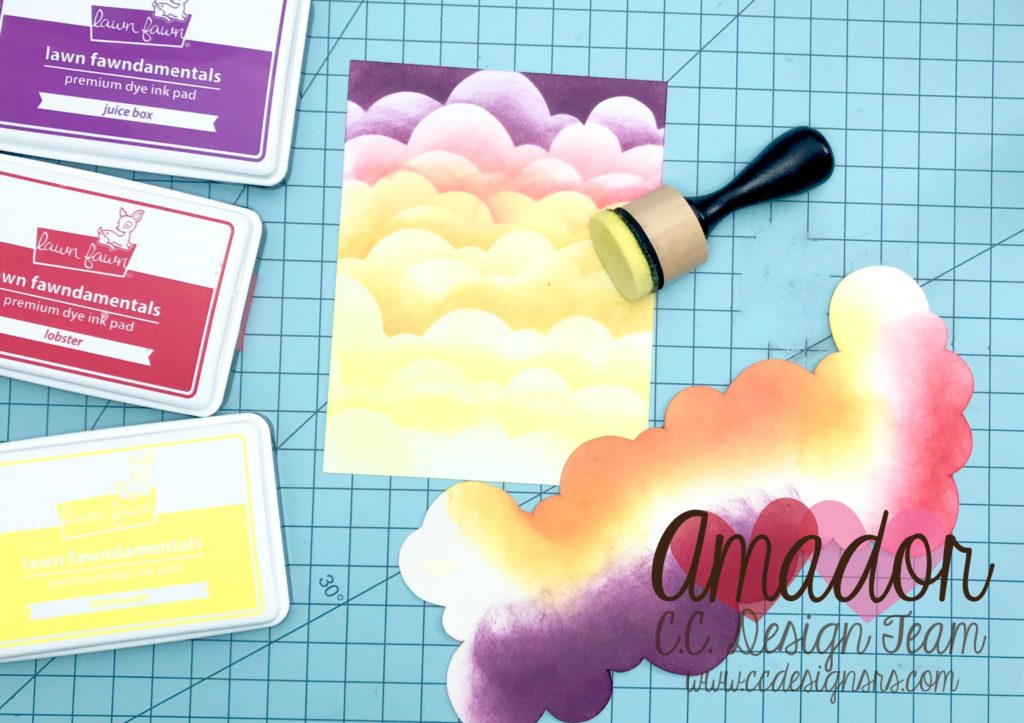
I turned the stencil in different angels fro the different colors so I would not contaminate my ink pads. If you are using the same color you don’t have to rotate the stencil as much to make different styles of clouds. Start with the distressing tool on the stencil and work your way outwards onto your card base in soft circular motions for a soft cloud look.
You can reuse your stencil if you are using the same colors or you are making cards in an assembly line style. I hope you have enjoyed this quick and easy tutorial. It only takes me a few minutes to make. I think it took me longer to choose my three items to stencil.
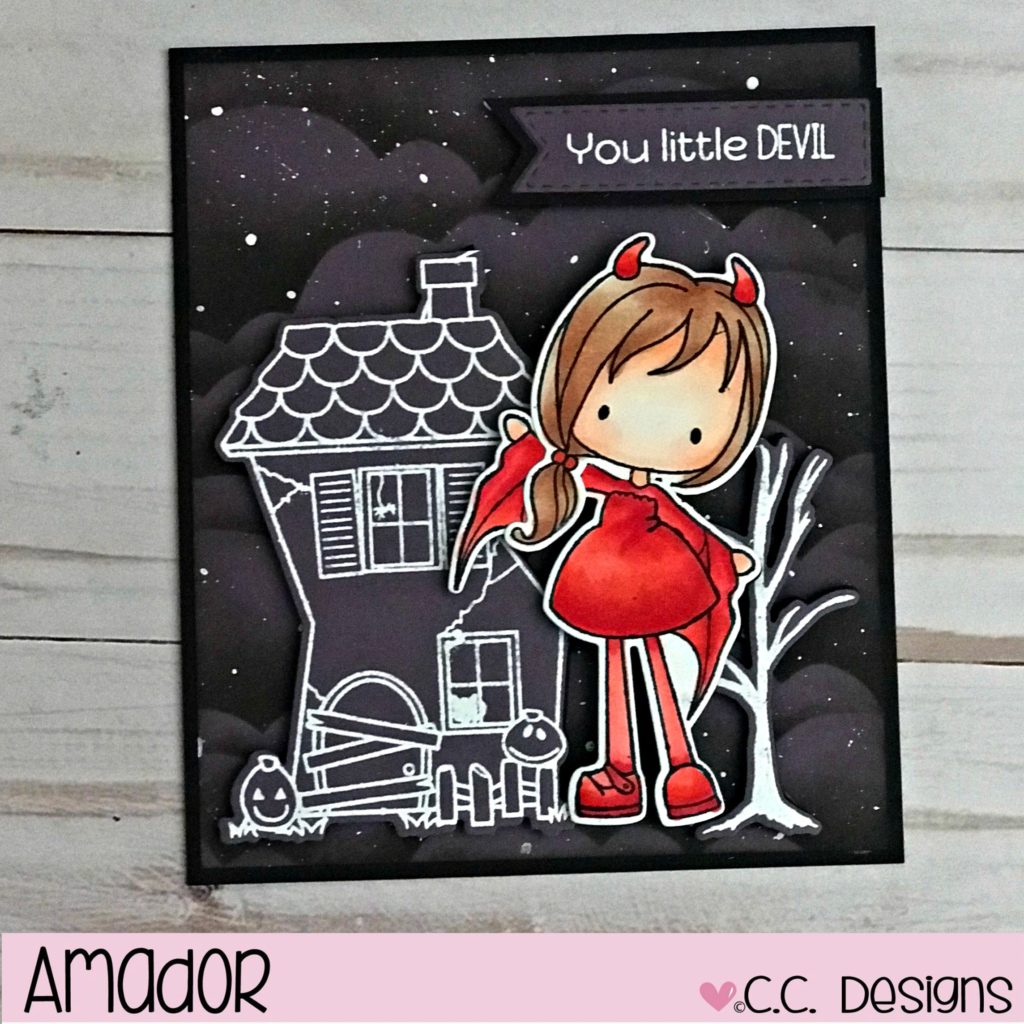
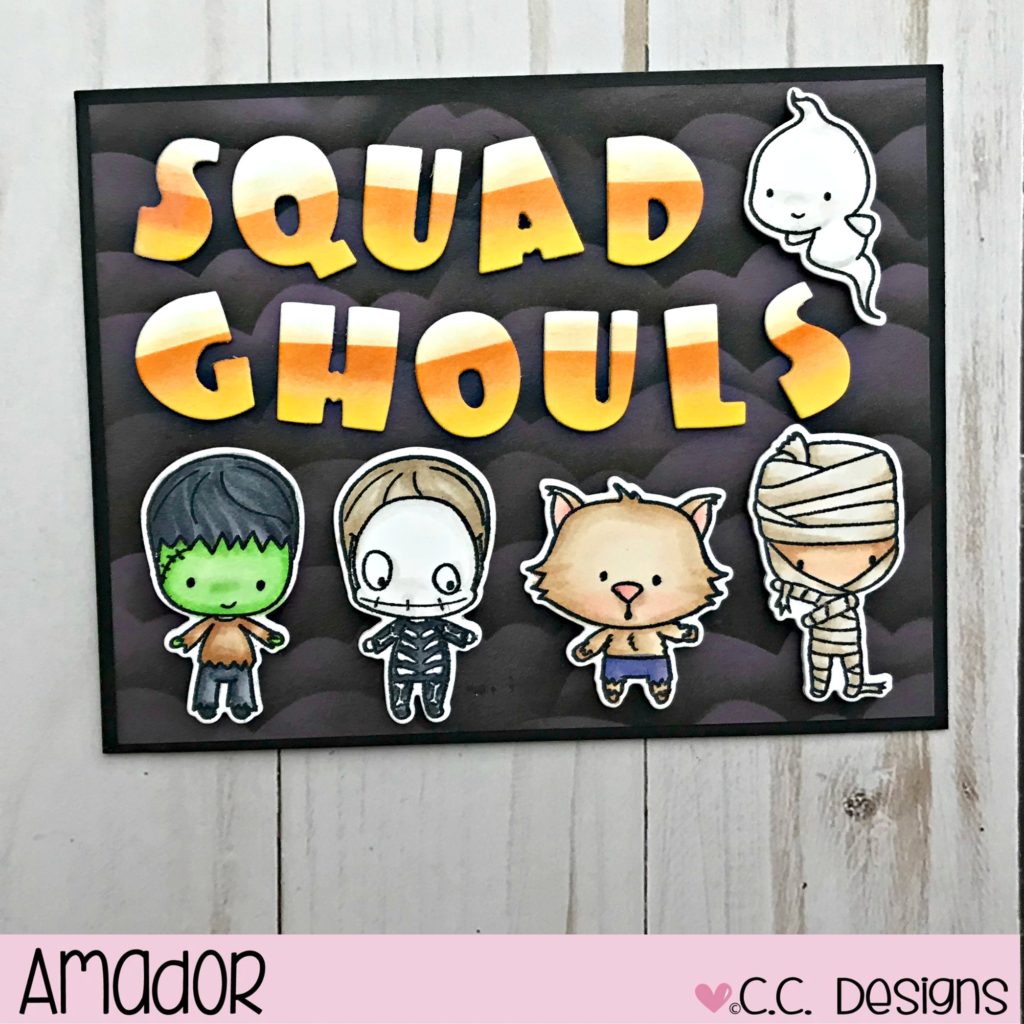
I used this type of stencil on many of my Halloween Cards for the night sky background.
Visit the C.C. Designs and my blog for the new designs in the store and the finished card that I used this stencil on.


October 16, 2018 at 1:15 pm
You are simply amazing but you already know that. Thank you for sharing your tips and tricks. I hope you are having a great day!
October 22, 2018 at 12:13 pm
Thank you so much for this tutorial