**I was compensated for this post. This post also contains affiliate links and I will be compensated if you make a purchase after clicking on my links.
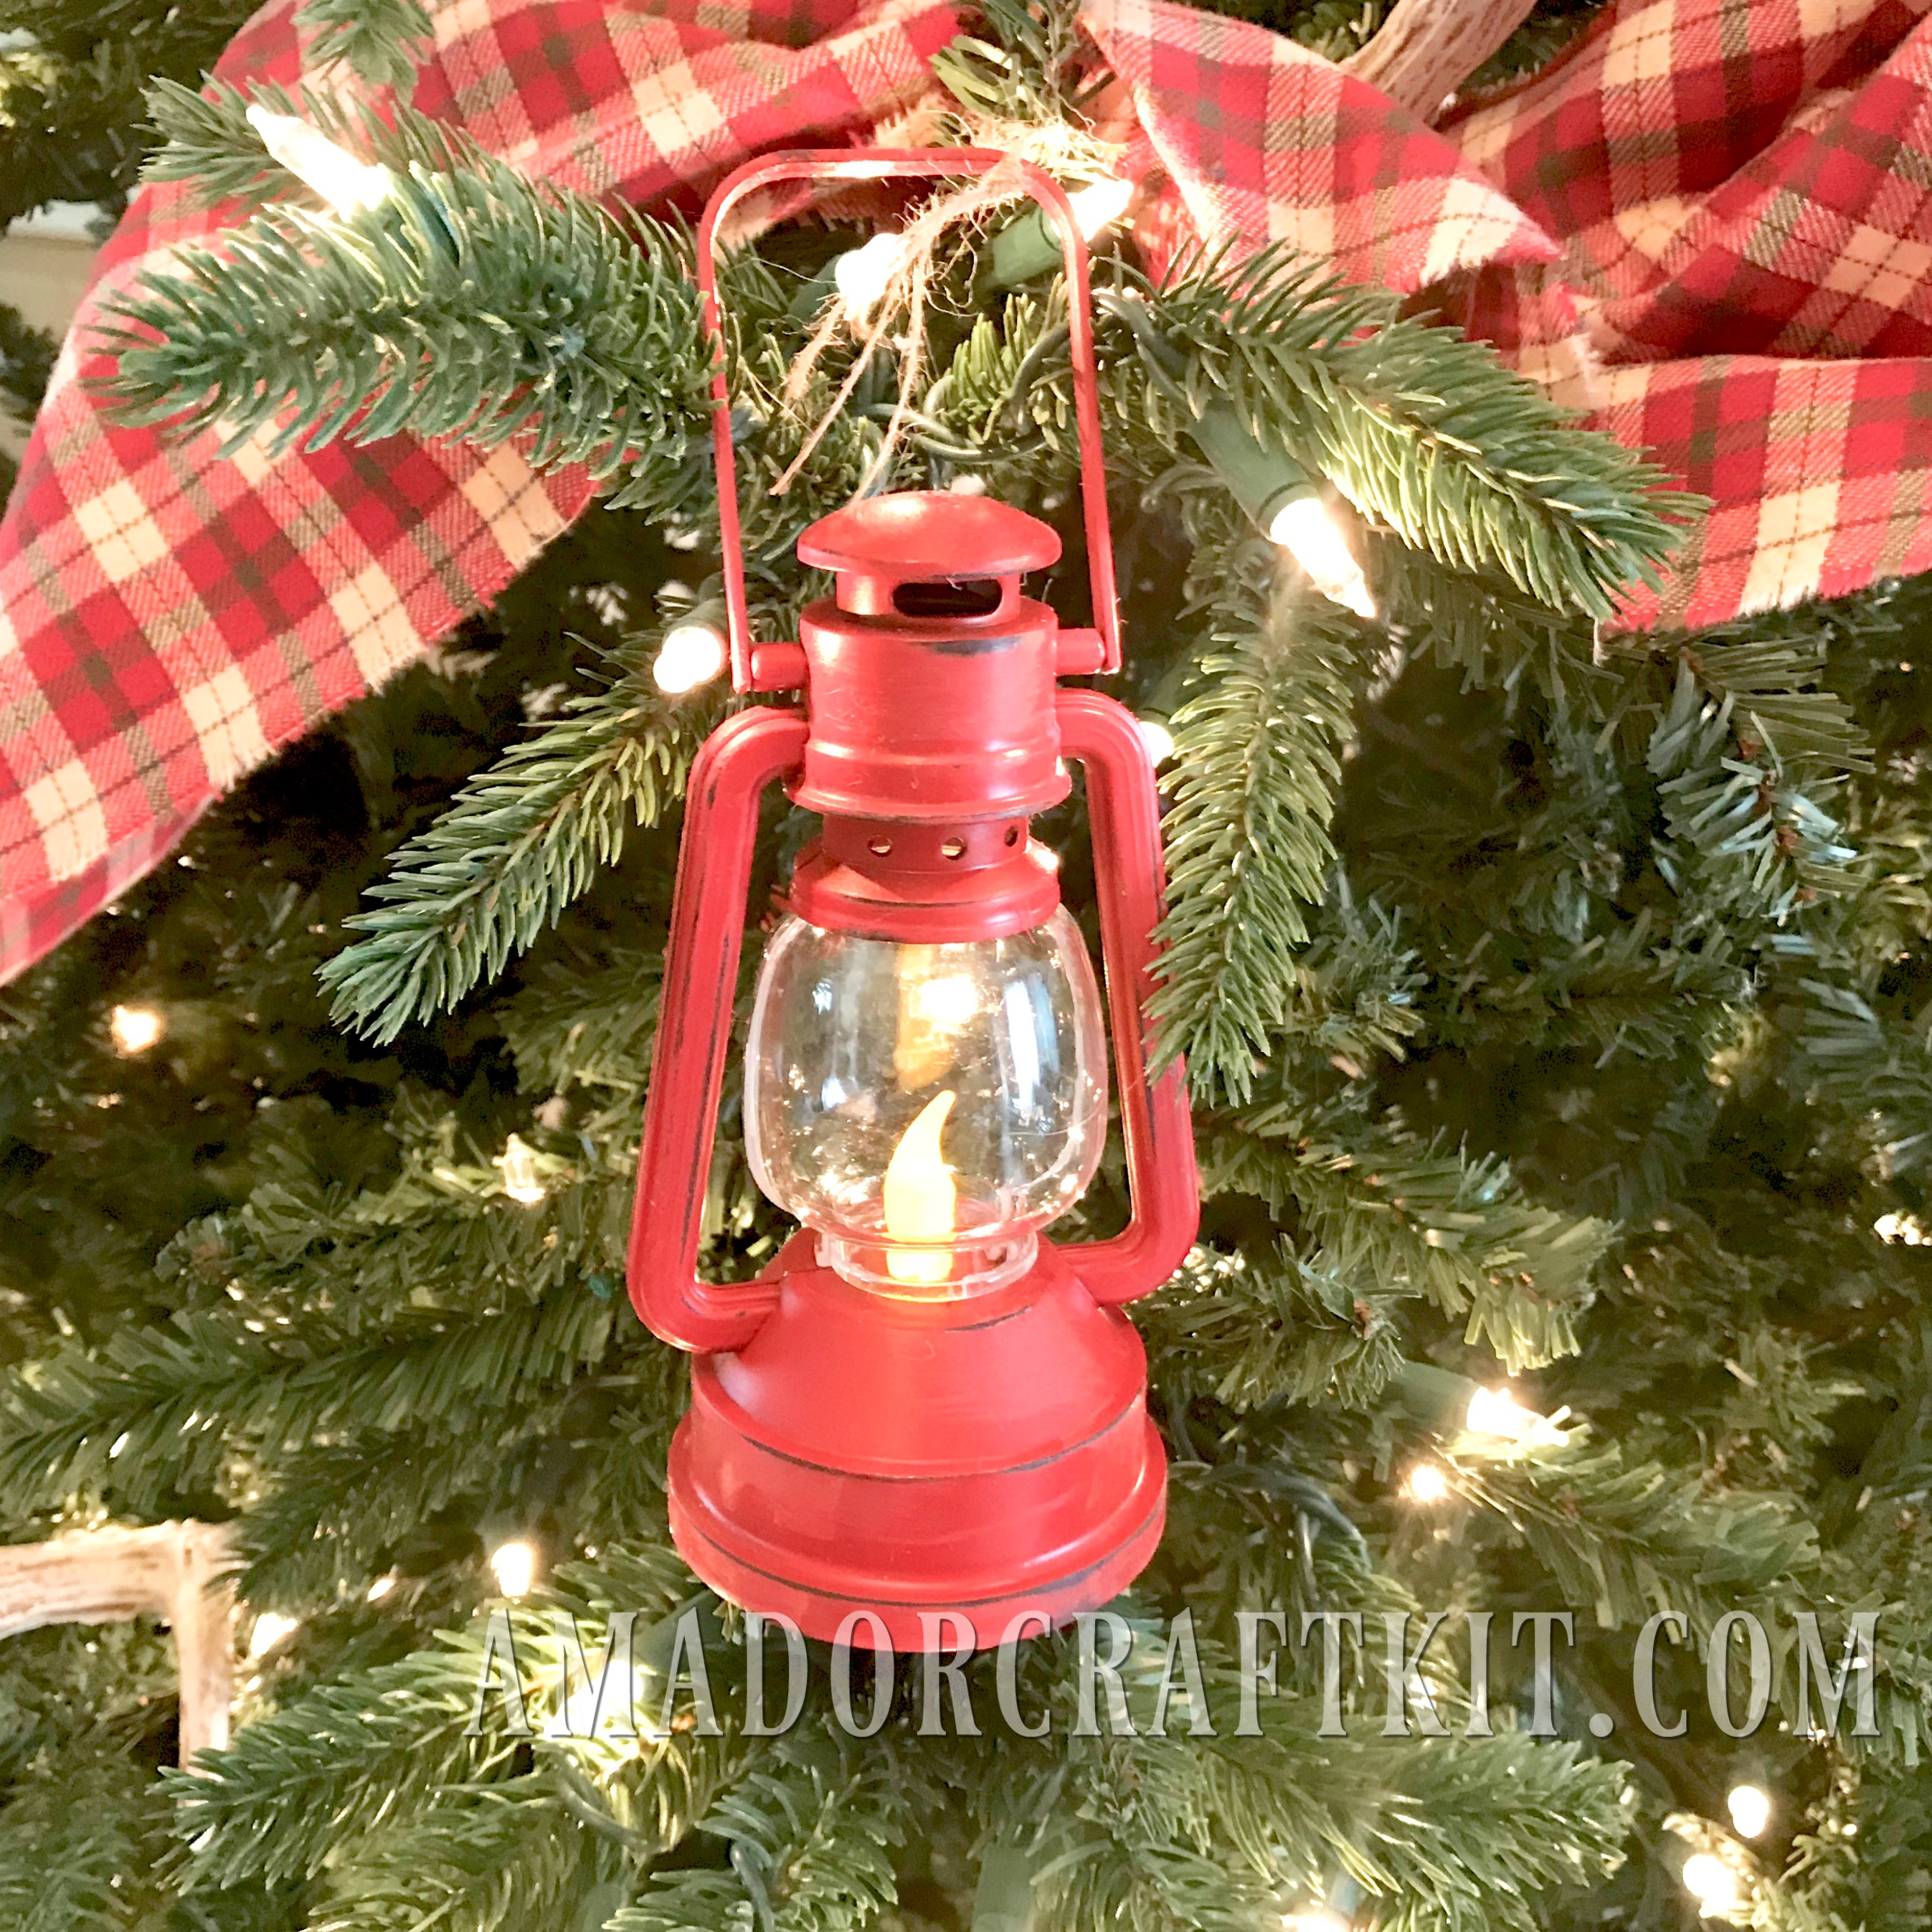
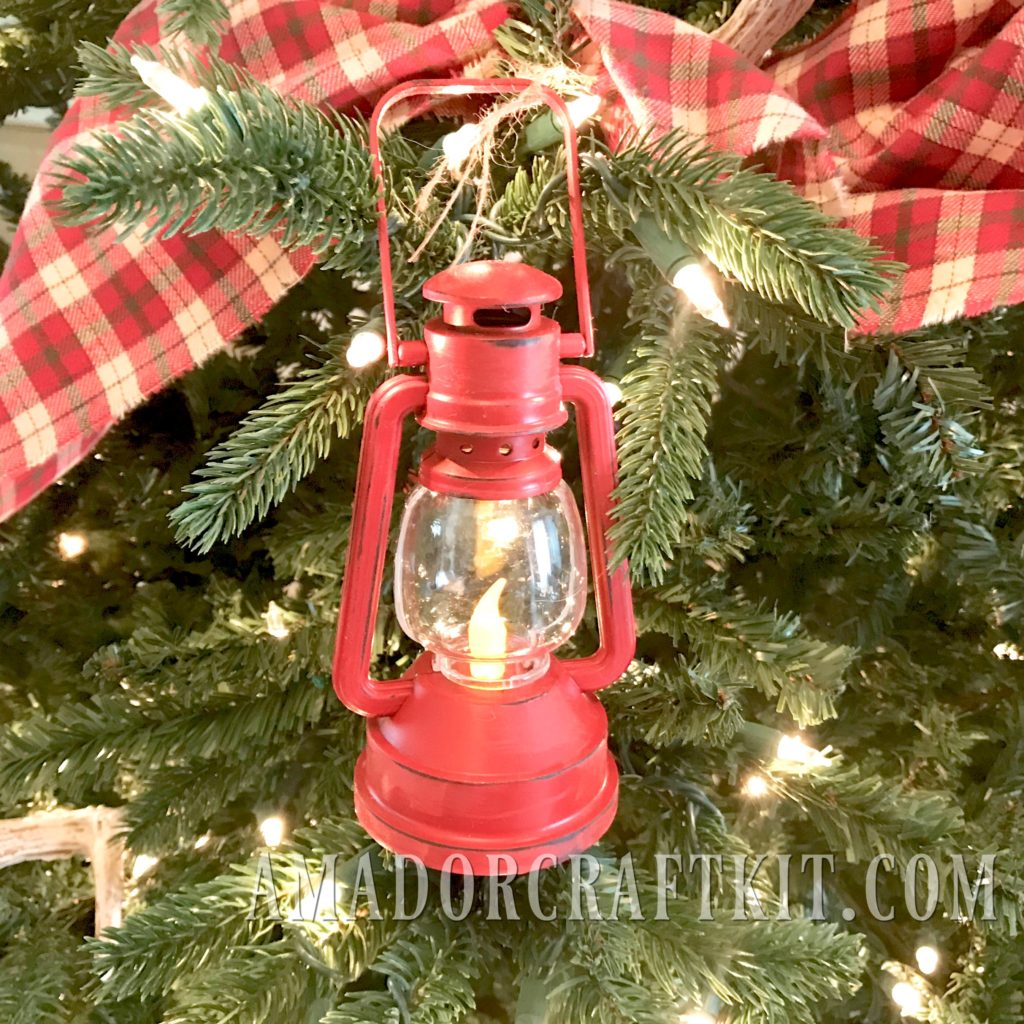
A Rustic Christmas Lantern is no longer an impossible thing to find! I wanted to create several Vintage or Rustic Christmas lanterns fort our Christmas Tree. I found these black Lanterns at Dollar Tree and was able to alter them to what I needed. I didn’t want to just have small lantern ornaments but a good size lantern that can also be used as a Christmas Decor piece around your home or even year round in your vintage or rustic decor.
I started with the Plastic LED Lantern from Dollar Tree. The come in a black base with gray accents to give them vintage or a distressed look. Before I painted the lanterns red with spray paint but you can also use Acrylic Paint from Dollar Tree. I removed the plastic pieces that make the globe dome on the lantern. The domes were removed by holding the lanterns where the seams are located on the side. The seam runs along the side handles and the base of the lanterns. they have snap pegs that can be pulled completely apart. You don’t have to separate the Bothe sides of the lanterns apart all of the way to remove the clear plastic domes.
I used Masking Tape to cove the candle flame on the lantern to make sure it doesn’t get covered with paint.
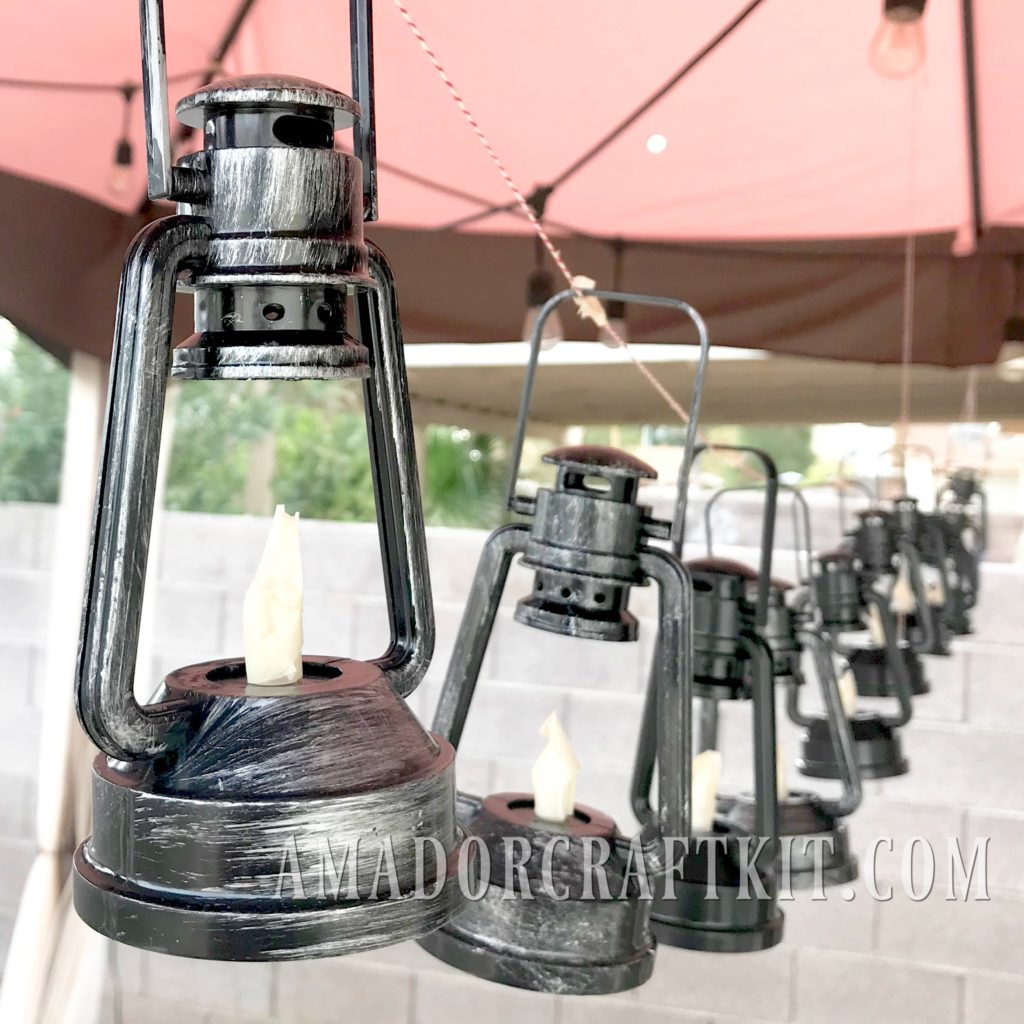
I strung the LED Lanterns in the back yard to make it easier to paint the bottoms and under the handles. This will give the lanterns a full coverage of paint. If you don’t remove the plastic domes then the inside of the lantern will be the original color.
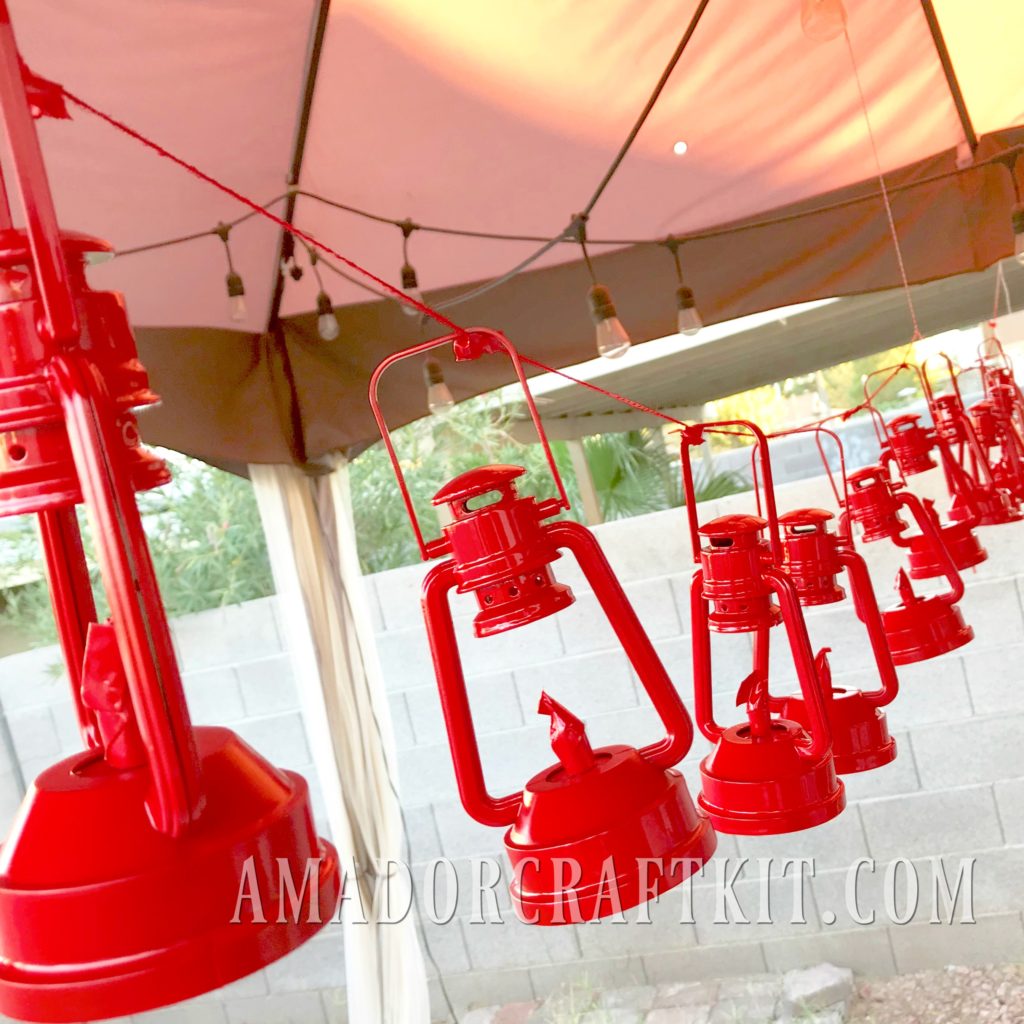
The LED Lanterns are fully painted and can reming hanging to dry and you don’t have to worry about them sticking to a crafting surface. Once the lanterns have dried you can take them down and begin to sand them to give them a vintage and distressed look. I used several of the different sanding sheets from the Sanding Paper Set I also found at the Dollar Tree store. Sanding the planters will also take away the shiny new paint look for that more distressed and vintage look.
Once you have painted and sanded all of your lanterns you can open them from the sides where the seam is located to place the plastic domes back inside of the lanterns to their original design.
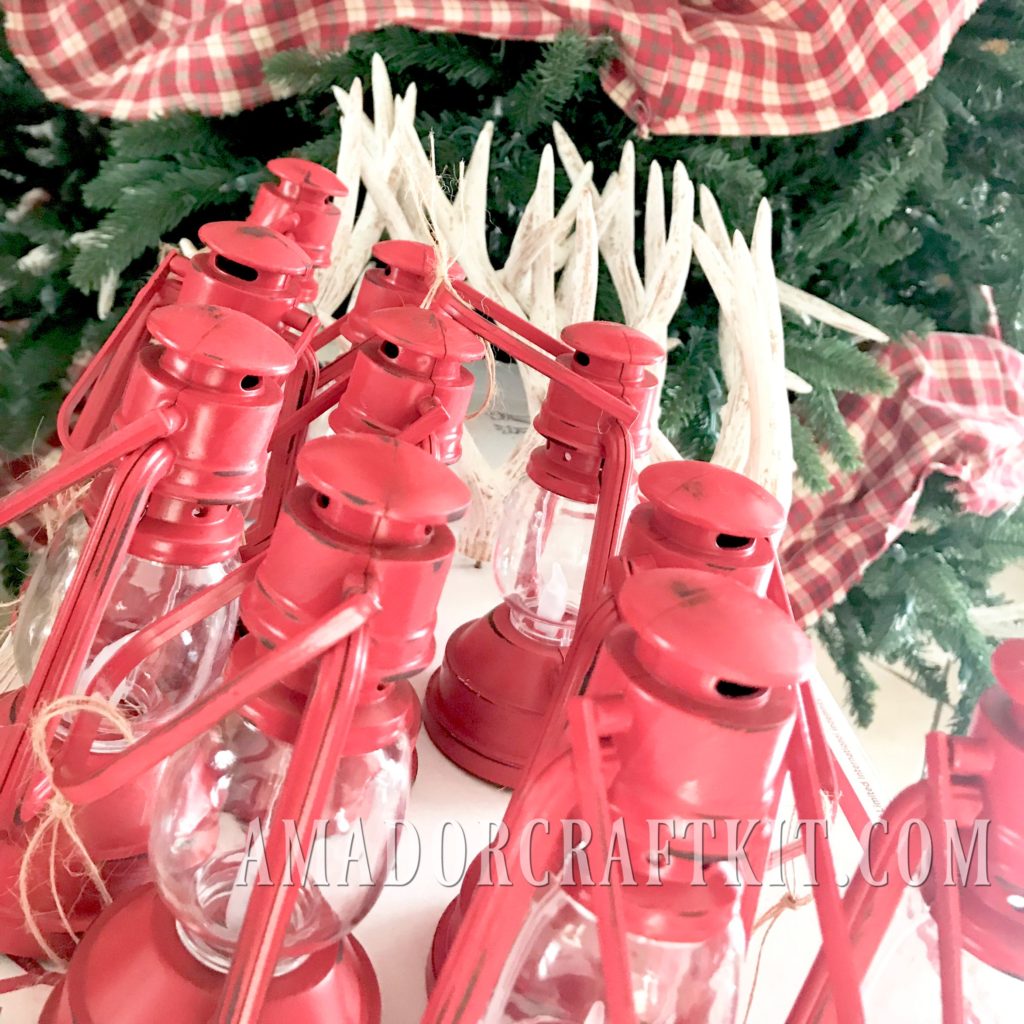
The Lanterns are now ready to be decorated. You can either add holiday greenery from Dollar Tree. I wanted to give these lanterns a simple rustic look so that they can be used year round as a decor piece. I simply added a string of Twine that was cut at 10 inches long. You can chose to tie the twine into a bow or a simple not depending on the theme of your Christmas decor.
I created some to give as gifts for friends and family. Some were actually used to decorate Christmas gifts instead of the basic gift tags that we usually use.
These Lanterns have become a loved part of our Christmas Decor and will last for many Christmases to come.
I created a tutorial video for machining these rustic Lanterns on my youtube channel. Go and take a look.
Thank you for stoping by my blog and I hope you check out Dollar Tree for your Christmas Decor Projects.
Dollar Tree Products used on this project:
Plastic LED Lantern
Masking Tape
Sanding Paper Set
Twine
**I was compensated for this post. This post also contains affiliate links and I will be compensated if you make a purchase after clicking on my links.
AFFILIATES
Affiliate links are a way for me to meet the expenses incurred by this website and it’s video hosting service; and as you know I don’t charge you for my tutorials.
When you purchase a product through the links provided, I receive a small commission at NO ADDITIONAL COST TO YOU. The purchase price is the same regardless whether you use my link or not.
It is my hope that you use these links as you shop, so that I may continue to bring you great crafting content and tutorials.
Thank you ?
October 27, 2018 at 3:21 pm
I love what you’ve done with these lanterns! Great idea! I’ll try doing this for my tree. Hugs, Sandi